Graphical Installation
Contents
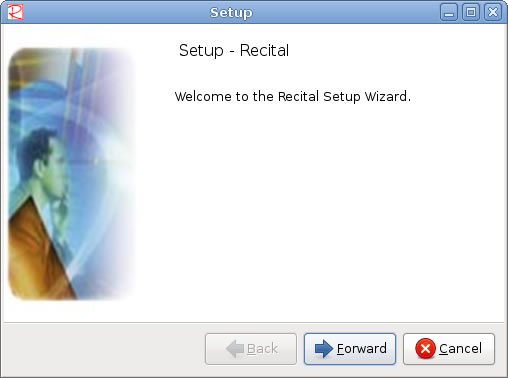
Welcome screen
Click Forward to continue, Cancel to exit the installation. In the following screens, you will also be able to click Back to return to the previous page.
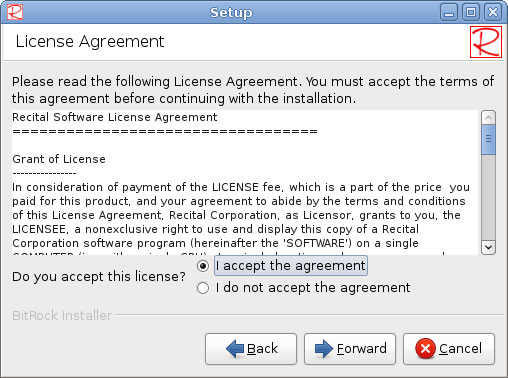
License Agreement
Please read the license agreement, then select I accept the agreement or I do not accept the agreement and click Forward to continue. If you do not accept the license agreement, the installation will terminate.
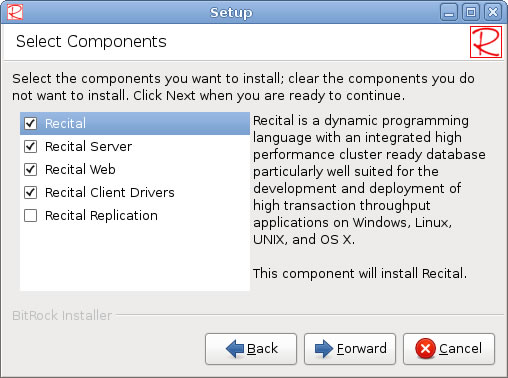
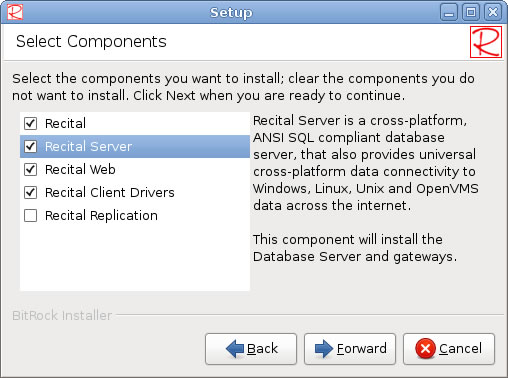
Select Components
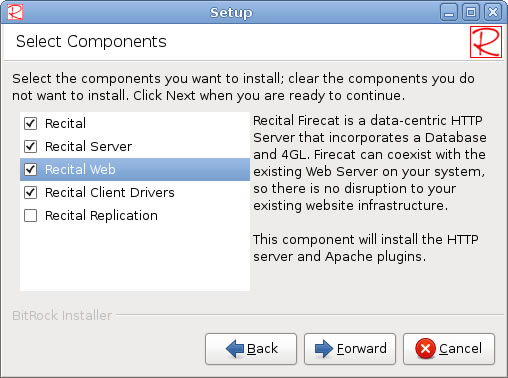
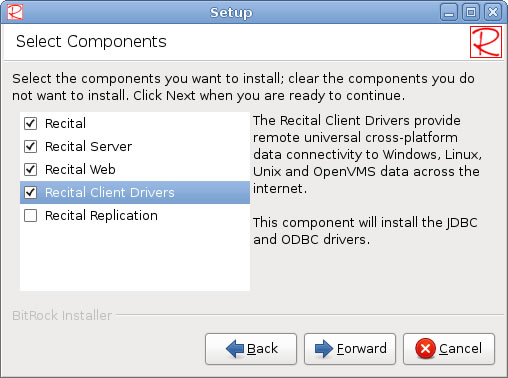
Select the components you require. As you highlight each component, its description is displayed.
Recital
Recital Server
Recital Web
Recital Client Drivers
Recital Replication
Once you have selected your chosen components, click Forward to continue.
Installation Directory=
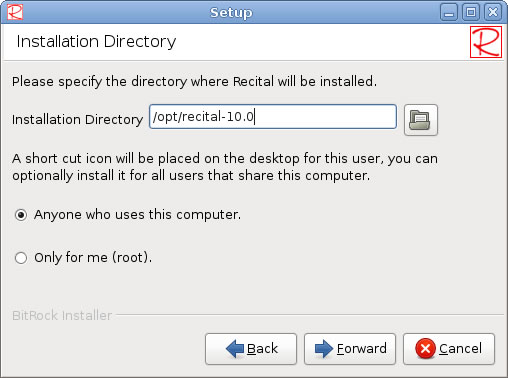
Please select the directory in which the Recital products should be installed. The default directory is /opt/recital-<version>, where <version> is the version of the software.
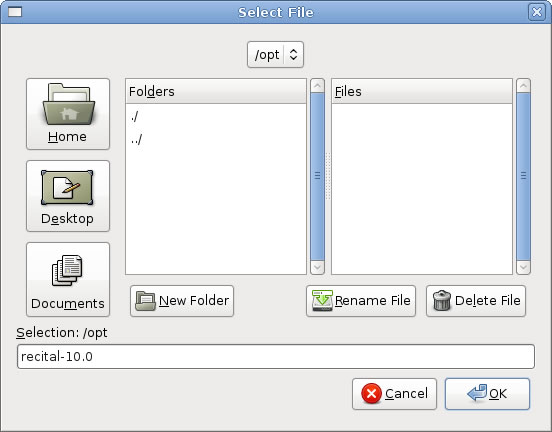
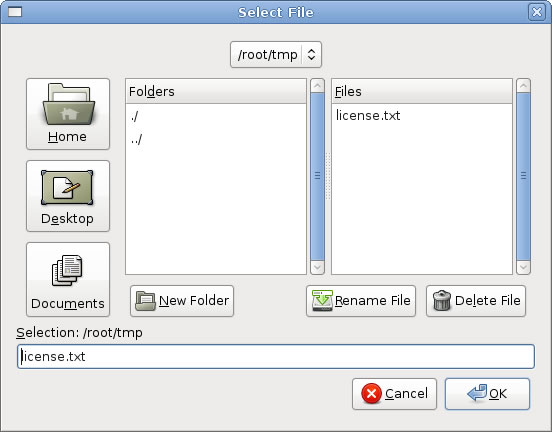
To browse your file system, click on the folder button. This will display the 'Select File dialog, allowing you to choose an existing folder or create a new one.
Click OK to save your selection and return to the previous screen, Cancel to return leaving the installation directory setting unchanged.
This screen also allows you to specify whether a Recital short cut icon should be created for all users or just you (root). Once your selections are complete, click Forward to continue.
