Difference between revisions of "Graphical Installation"
Yvonnemilne (Talk | contribs) (→Install License File) |
Yvonnemilne (Talk | contribs) |
||
| Line 176: | Line 176: | ||
[[Category:Documentation]] | [[Category:Documentation]] | ||
[[Category:Installation]] | [[Category:Installation]] | ||
| − | |||
| − | |||
Latest revision as of 12:47, 4 October 2010
Contents
- 1 Overview
- 2 Text Installation
- 3 Welcome Screen
- 4 License Agreement
- 5 Select Components
- 6 Installation Directory
- 7 Environment
- 8 ODBC Installation Type
- 9 JVM Selection
- 10 TomCat Installation Type
- 11 Apache plugin Installation
- 12 Install License File
- 13 Ready to Install
- 14 Completing the Recital Setup Wizard
- 15 Uninstall
- 16 Configuration
- 17 Getting Started
- 18 Upgrading
Overview
Recital 10 products are distributed as a binary executable which contains all the products for that platform and allows one or more of them to be installed.
Recital products are available from the Downloads area of the Recital web site.
For details of purchasing Recital licenses, please contact Recital or visit our web site.
Text Installation
The installer will default to a text installation in non-graphical environments. Text installation can also be selected by specifying the --mode text parameter when running the installer on the command line. Please see Text Installation for instructions.
Welcome Screen
Click Forward to continue, Cancel to exit the installation. In the following screens, you will also be able to click Back to return to the previous page.
License Agreement
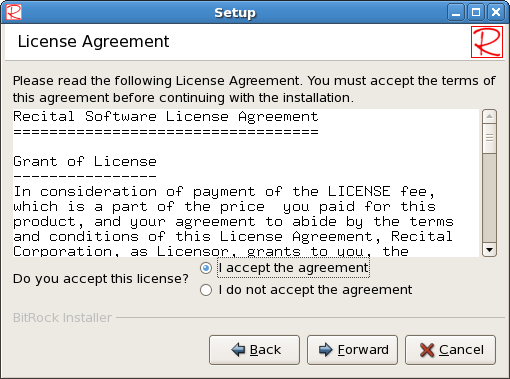
Please read the license agreement, then select I accept the agreement or I do not accept the agreement and click Forward to continue. If you do not accept the license agreement, the installation will terminate.
Select Components
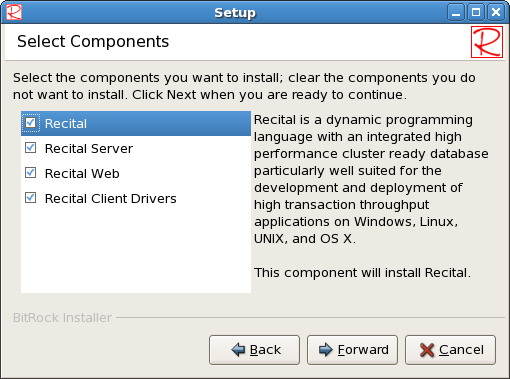
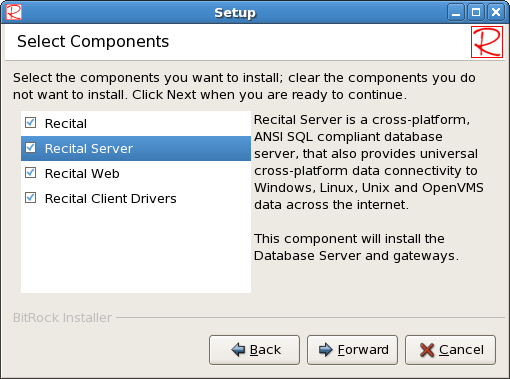
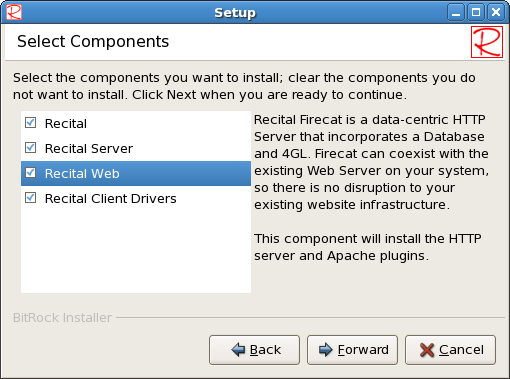
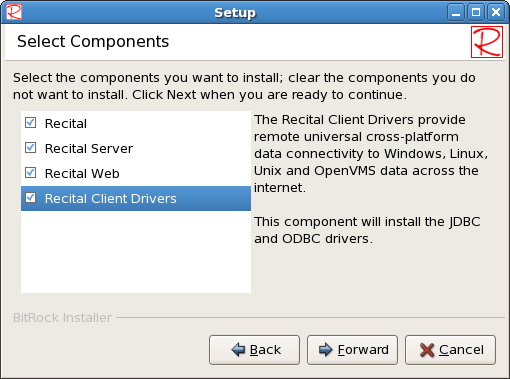
Select the components you require. As you highlight each component, its description is displayed.
Recital
Recital Server
Recital Web
Recital Client Drivers
Once you have selected your chosen components, click Forward to continue.
Installation Directory
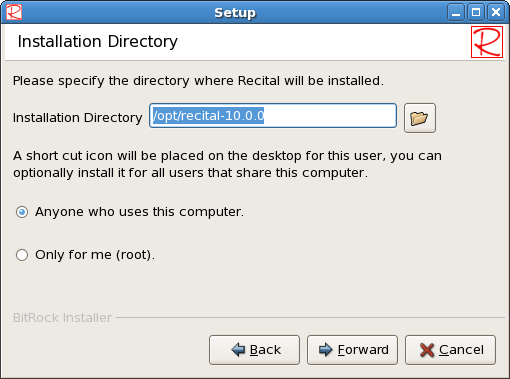
Please select the directory in which the Recital products should be installed. The default directory is /opt/recital-<version>, where <version> is the version of the software.
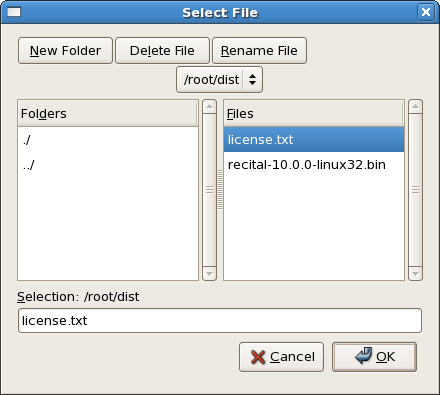
To browse your file system, click on the folder button. This will display the Select File dialog, allowing you to choose an existing folder or create a new one.
Click OK to save your selection and return to the previous screen, Cancel to return leaving the installation directory setting unchanged.
This screen also allows you to specify whether a Recital shortcut icon should be created for all users or just you (root). Once your selections are complete, click Forward to continue.
Environment
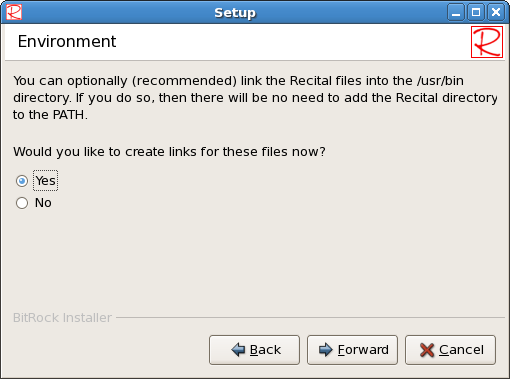
You can choose to allow the installation to link certain important file into /usr/bin so they will be available without having to adjust your PATH setting.
Select Yes or No then click Forward to continue.
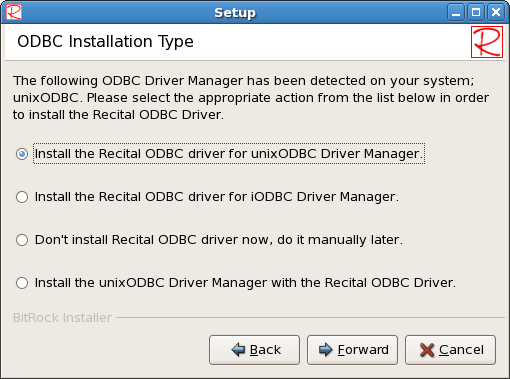
ODBC Installation Type
This screen is only displayed if you chose to install the Recital Client Drivers component.
The installer checks to see if you already have an ODBC Driver Manager installed and gives the following defaults:
- Install the Recital ODBC driver for unixODBC Driver Manager. - If you already have the unixODBC Driver Manager installed.
- Install the Recital ODBC driver for iODBC Driver Manager. - If you already have the iODBC Driver Manager installed.
- Don't install the Recital ODBC driver now, do it manually later. - If you do not have a Driver Manager installed.
You can also get the choose to install the unixODBC Driver Manager:
- Install the unixODBC Driver Manager with the Recital ODBC driver.
Once you have made your selection, click Forward to continue.
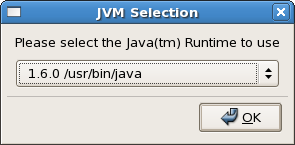
JVM Selection
This screen is only displayed if you chose to install the Recital Client Drivers component.
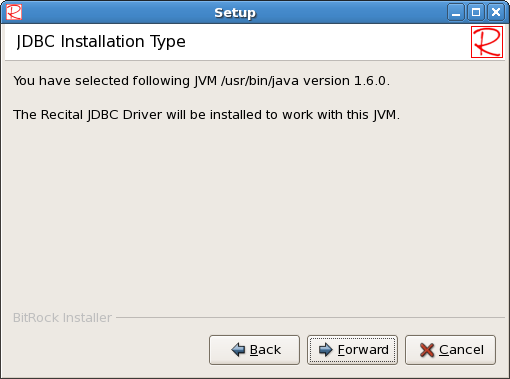
The installer checks to see if you have a Java Virtual Machine (JVM) installed and prompts you to select the JVM to be used by the Recital JDBC Driver. Once you have made your selection, click OK to continue and your choice will be displayed.
Click Forward to continue.
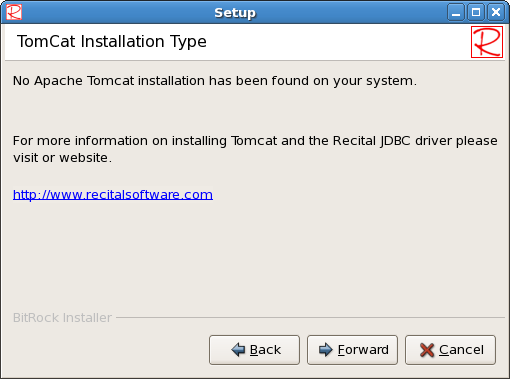
TomCat Installation Type
This screen is only displayed if you chose to install the Recital Client Drivers component.
Click Forward to continue.
Apache plugin Installation
This screen is only displayed if you chose to install the Recital Web component.
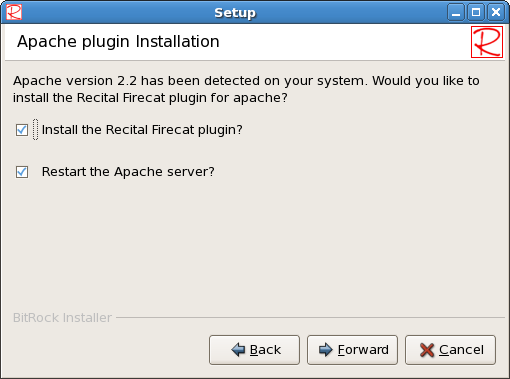
The installer checks to see if you have Apache web server installed and prompts you to install the Recital Web plugin for Apache if so. You can also specify to restart Apache after the installation to enable the plugin. Recital Web can also run as a standalone web server, in which case the plugin is not required. Once you have made your selection, click Forward to continue.
Install License File
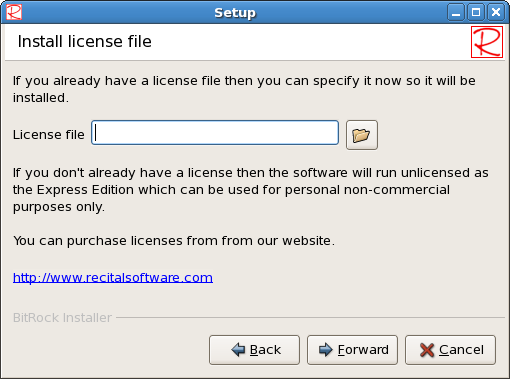
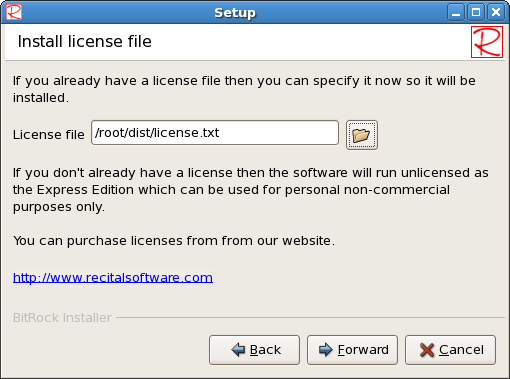
If you already have your license file, you can specify the name of the file here. If not, you can install the license after installation.
To browse your file system, click on the folder button. This will display the 'Select File dialog, allowing you to find your license file.
Click OK to save your selection and return to the previous screen, Cancel to return without saving.
Click Forward to continue.
Ready to Install
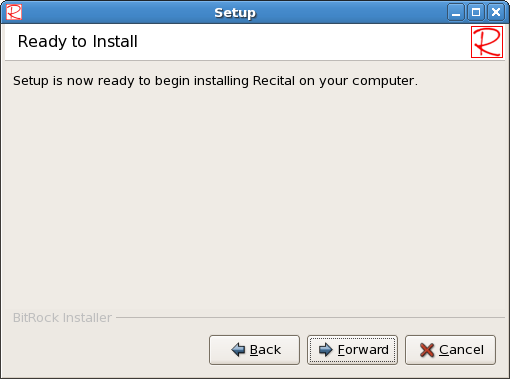
This is the final point at which you can cancel the installation. If you are happy for the installation to proceed, click Forward to continue.
Completing the Recital Setup Wizard
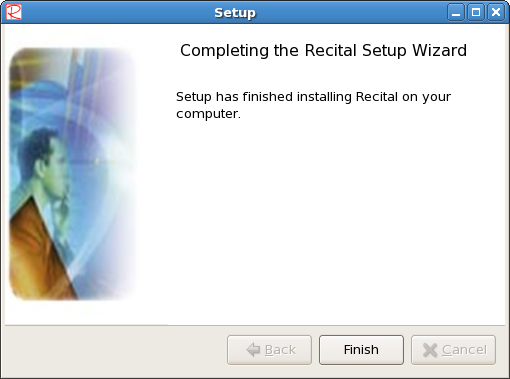
The following screen will be displayed once the installation completes. Click Finish to exit.
To verify that Recital has installed correctly type:
recital
Uninstall
Note: The uninstaller must be run as root.
To uninstall Recital products, run the uninstall script in your chosen installation directory.
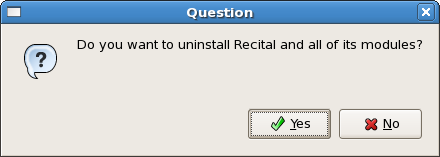
Confirm uninstallation by clicking Yes
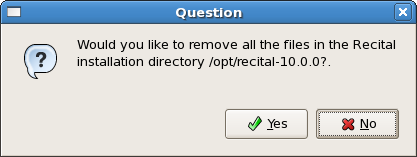
Optionally remove the Recital installation directory.
Configuration
Please see the Configuration guide for your chosen product(s):
Getting Started
Please see the Getting Started guide for your chosen product(s):
Upgrading
Recital Corporation recommends that program files are recompiled and indexes rebuilt whenever a new version of the software is installed.
For additional upgrade instructions, please see Upgrading.

